Top 5 Signs Your Building Needs Structural Repair
Learn to identify critical warning signs that indicate your building requires immediate structural assessment and repair.
Read More
Polygrout is a single component highly effective, hydrophobic grout based on polyurethane. Upon contact with water, it reacts to form a closed-cell, semi-rigid foam expanding its volume by 3000%.
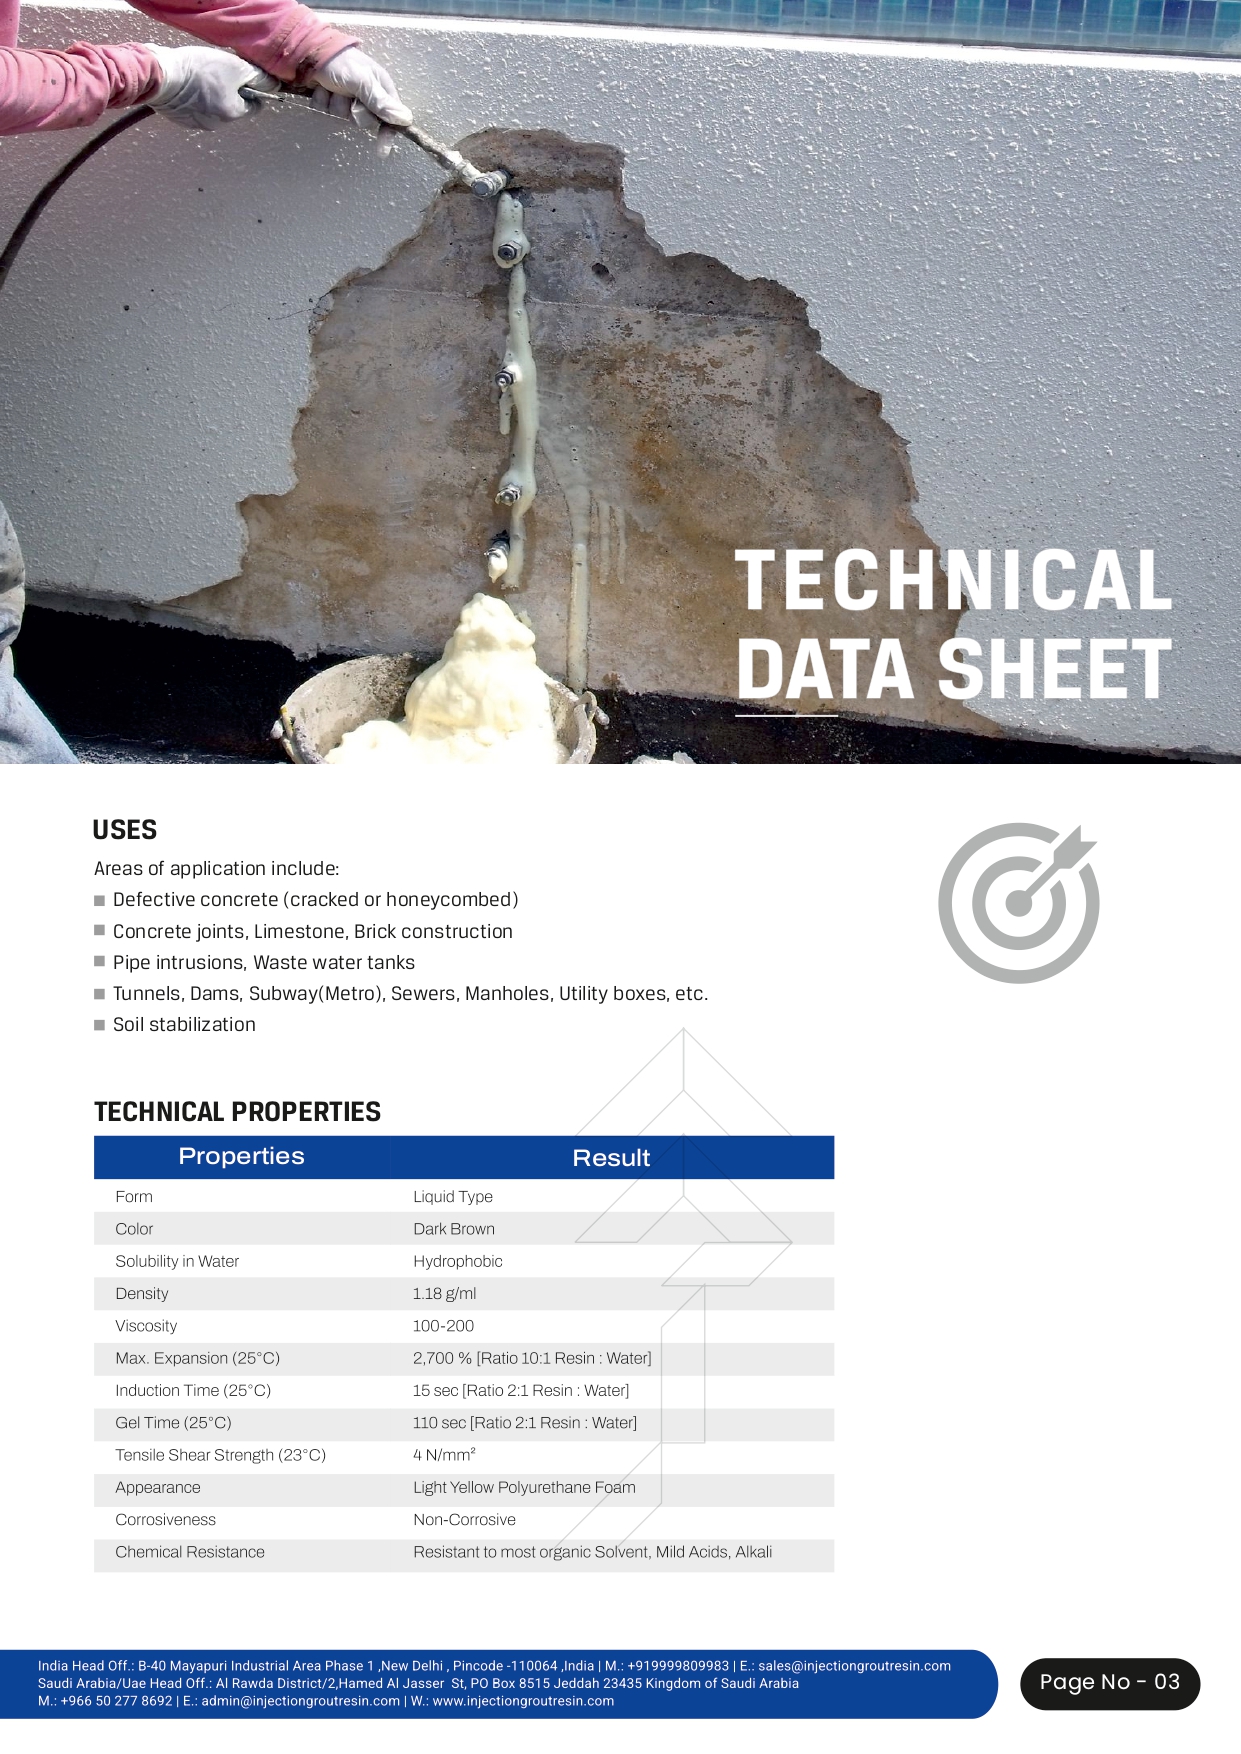
| Form | Liquid Type |
|---|---|
| Color | Dark Brown |
| Solubility in Water | Hydrophobic |
| Density | 1.18 g/ml |
| Viscosity | 100-200 |
| Max. Expansion (25°C) | 2,700% (Ratio 10:1 Resin: Water) |
| Induction Time (25°C) | 15 sec (Ratio 2:1 Resin: Water) |
| Gel Time (25°C) | 110 sec (Ratio 2:1 Resin: Water) |
| Tensile Shear Strength (23°C) | 4 N/mm² |
| Appearance | Light Yellow Polyurethane Foam |
| Corrosiveness | Non-Corrosive |
| Chemical Resistance | Resistant to most organic Solvent, Mild Acids, Alkali |
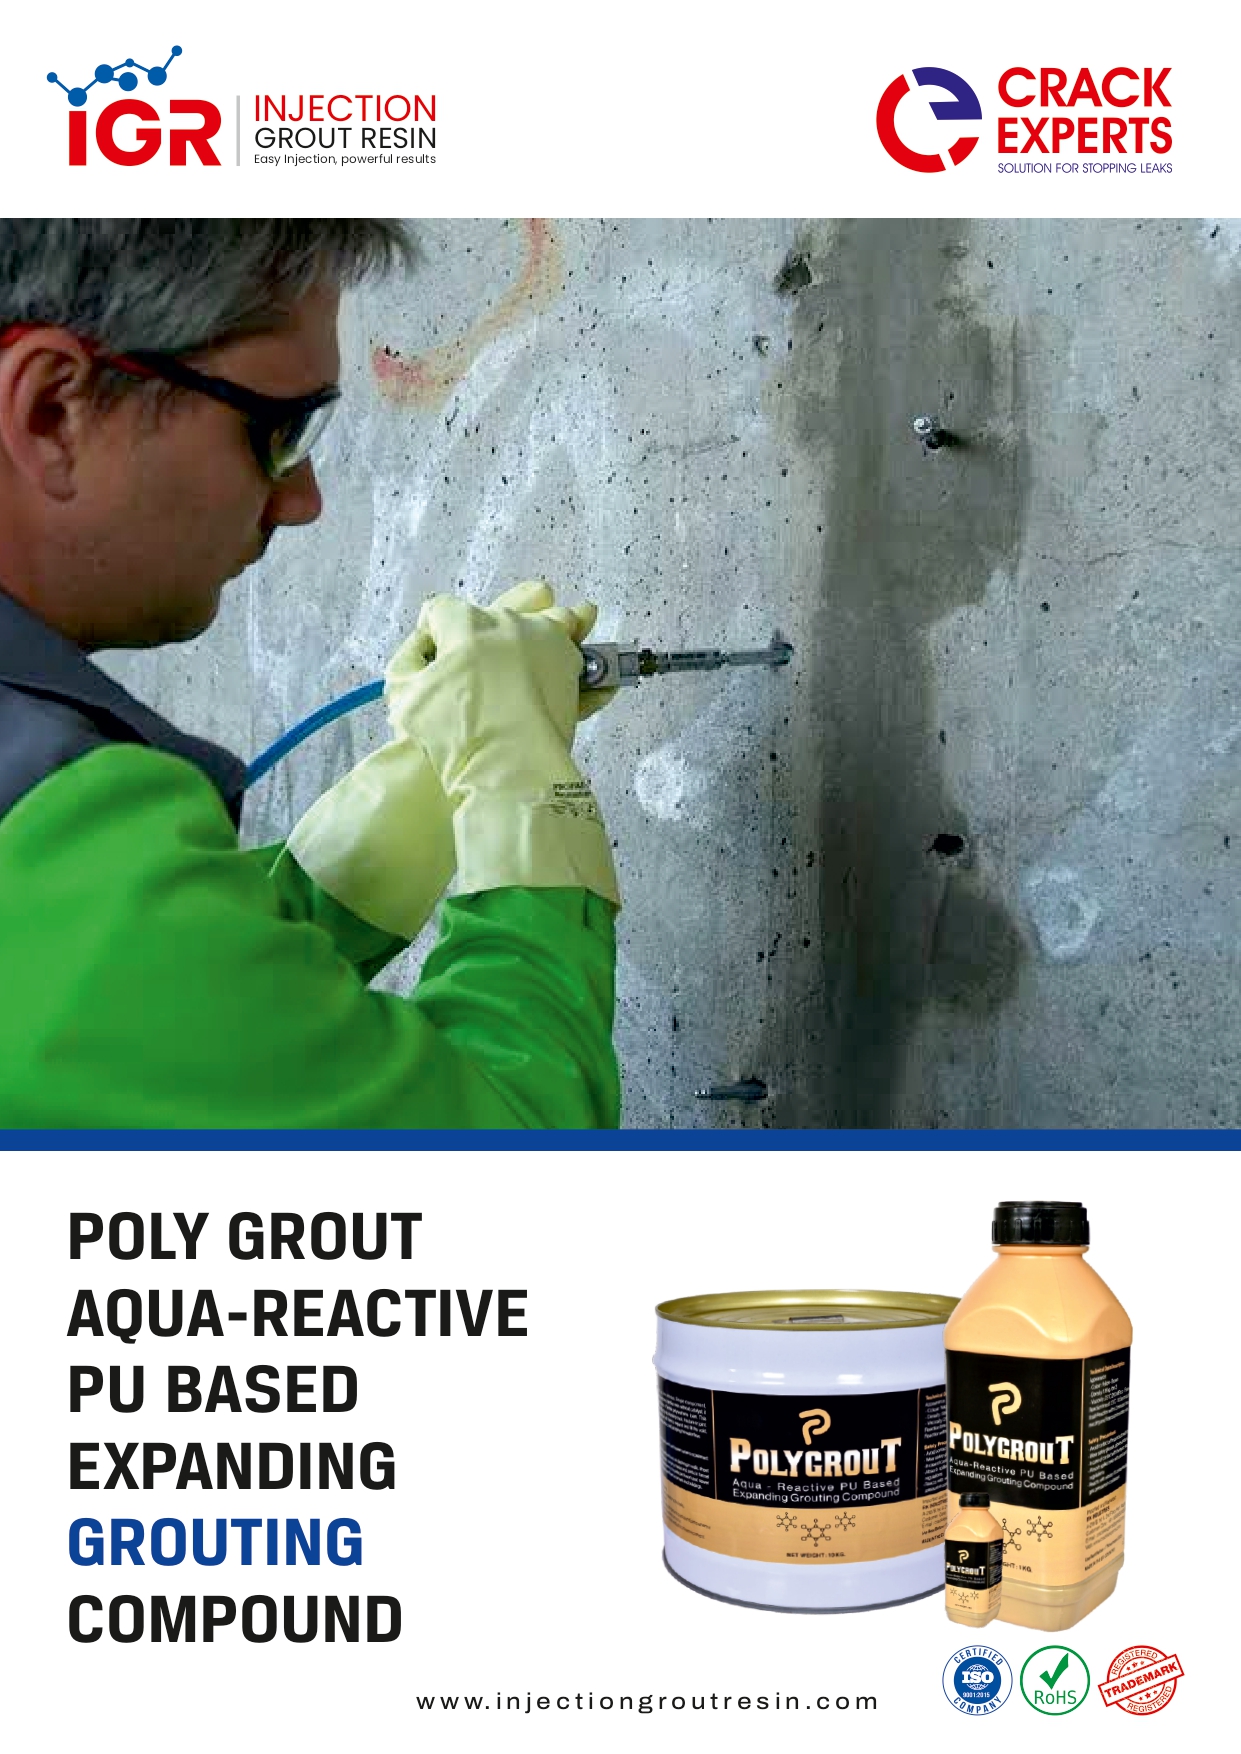
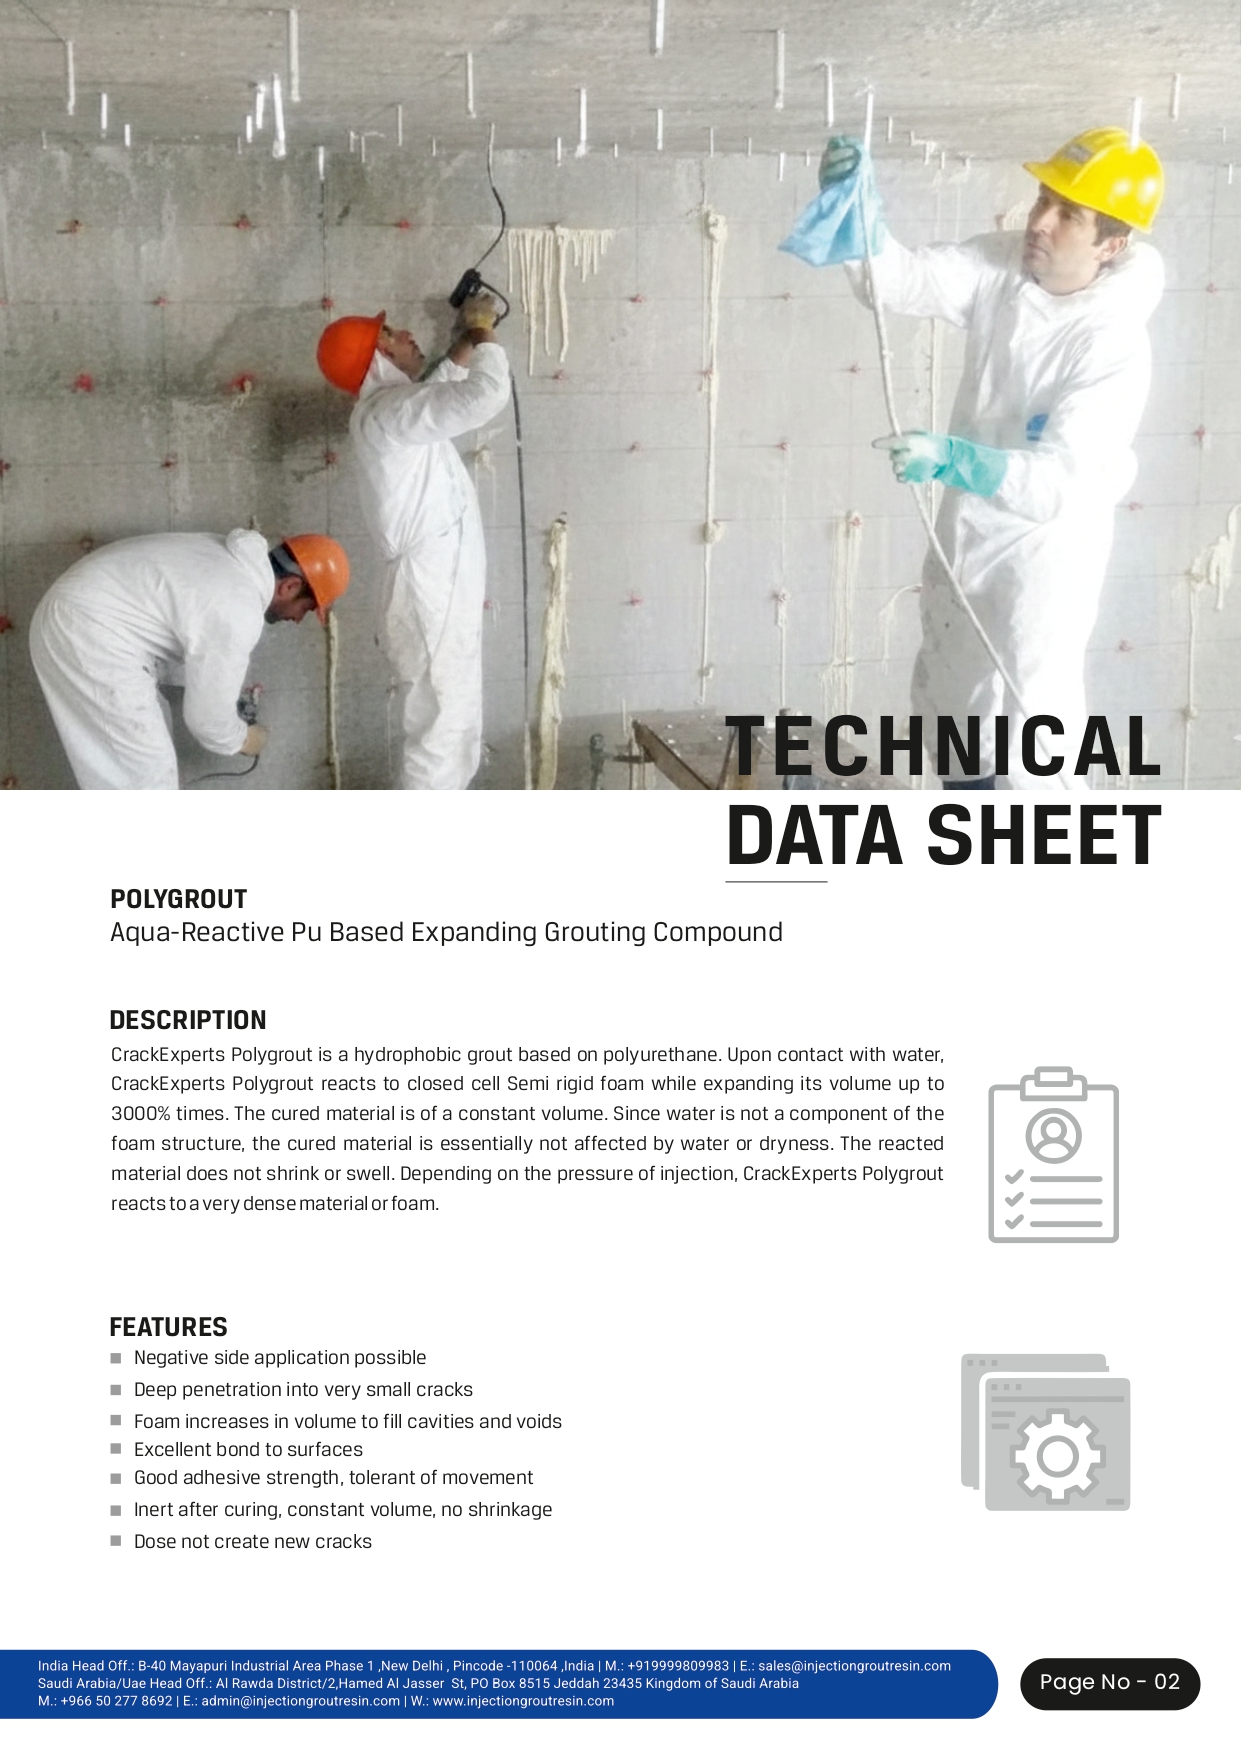

CrackExperts Polygrout is a hydrophobic grout based on polyurethane. Upon contact with water, it reacts to a closed-cell, semi-rigid foam while expanding its volume up to 3000%.
The cured material maintains a constant volume and is not affected by water or dryness, ensuring the reacted material does not shrink or swell.
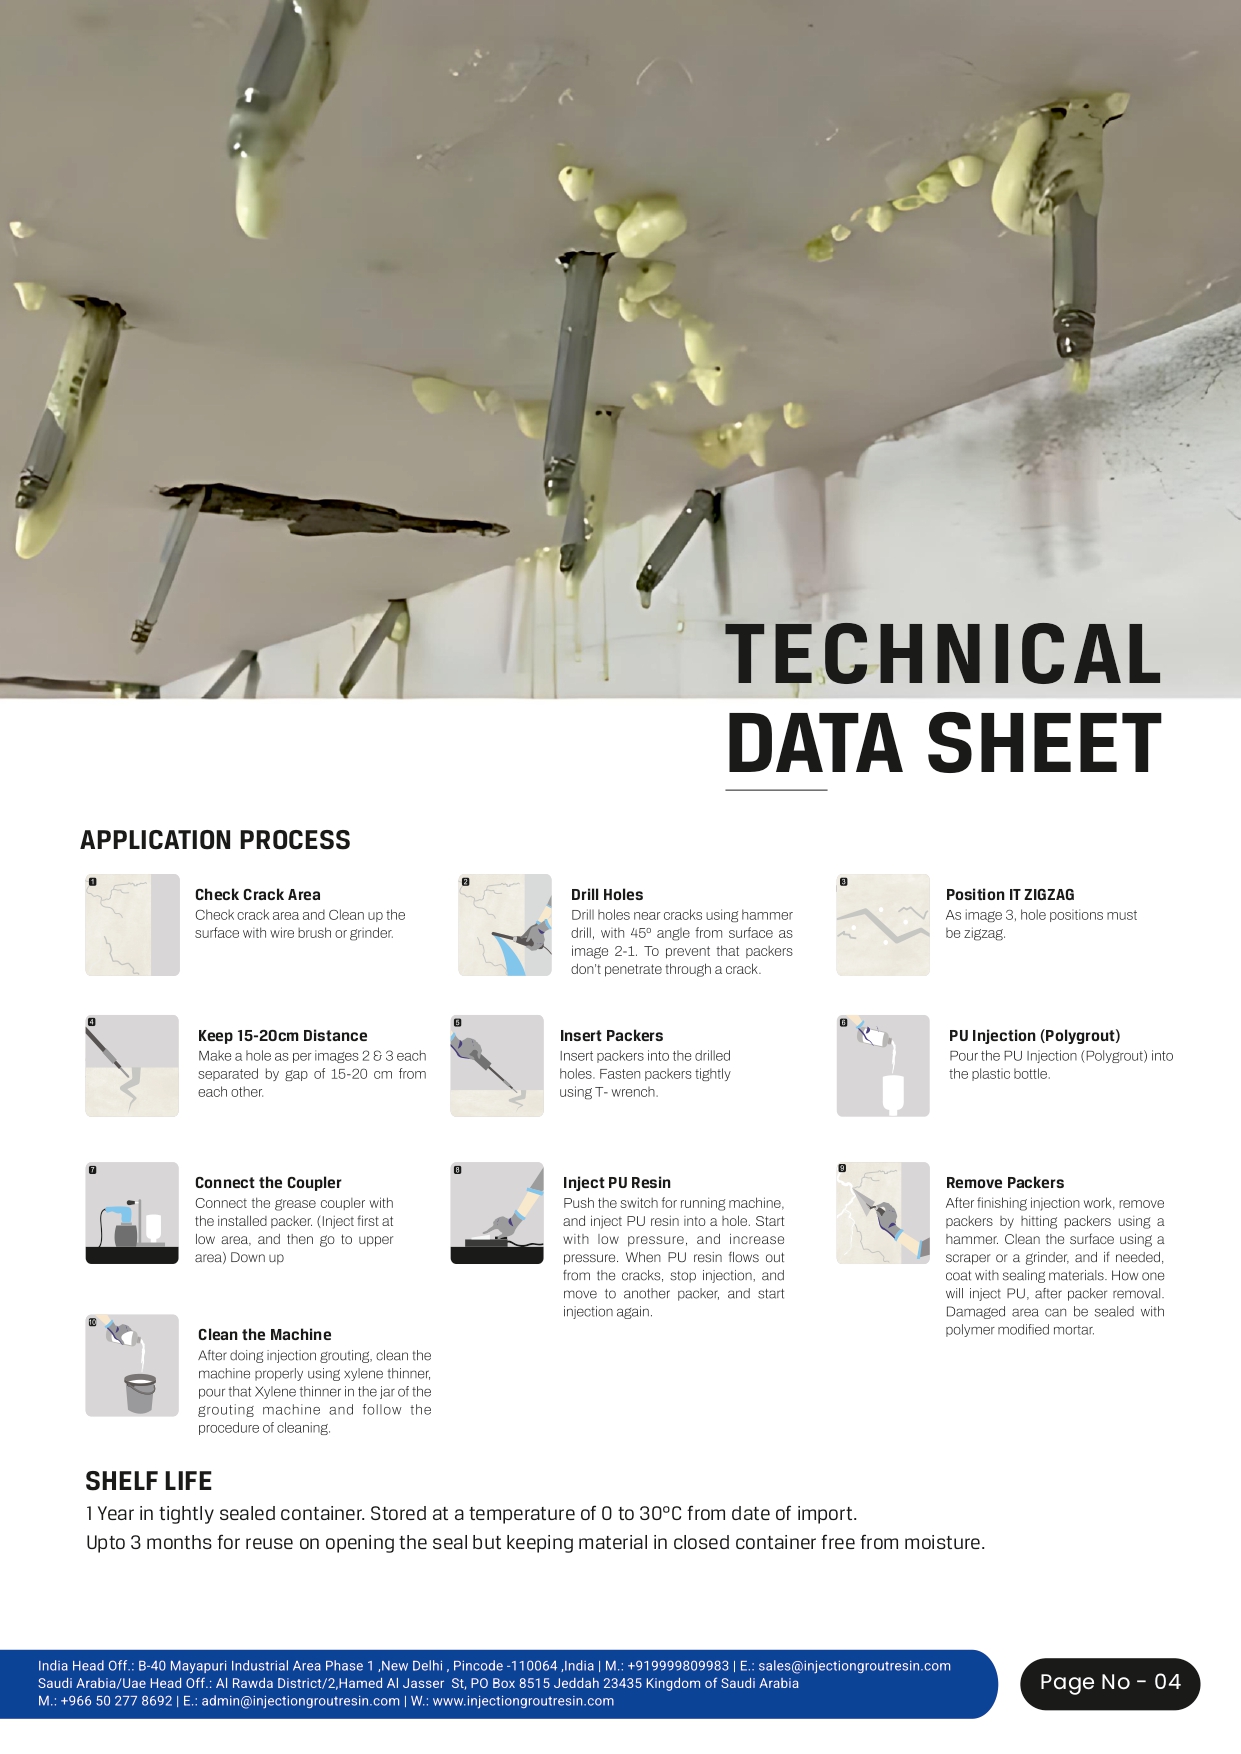
Check Crack Area - Check crack area and clean up the surface with a wire brush or grinder.
Drill Holes - Drill holes near cracks using a hammer drill, with a 45° angle from the surface, to prevent packers from penetrating through a crack.
Position Zigzag & Distance - Hole positions must be zigzag, with a separation gap of 15-20 cm from each other.
Keep 15-20cm Distance - Make holes as per the recommended pattern, each separated by gap of 15-20 cm from each other.
Insert Packers - Insert packers into the drilled holes and fasten them tightly using a T-wrench.
PU Injection (Polygrout) Prep - Pour the PU Injection (Polygrout) into the plastic bottle.
Connect the Coupler - Connect the grease coupler with the installed packer. Inject first at the low area, and then move to the upper area (down to up).
Inject PU Resin - Push the switch for the running machine and inject PU resin into a hole. Start with low pressure and increase. When PU resin flows out from the cracks, stop injection, move to another packer, and start injection again.
Remove Packers - After finishing injection, remove packers by hitting them with a hammer. Clean the surface using a scraper or a grinder, and if needed, coat with sealing materials. Damaged areas can be sealed with polymer modified mortar.
Clean the Machine - Clean the machine properly using xylene thinner. Pour the Xylene thinner in the jar of the grouting machine and follow the cleaning procedure.

SealGrout-55 LP is a high-strength, low-viscosity epoxy resin for sealing cracks in concrete. Ideal for structural repairs in slabs, beams, columns, and more, with application in dry and damp conditions.

Seal Injection 101 is a fast-reacting polyurethane injection resin that reacts with water and expands into a flexible, closed-cell hydrophobic foam, permanently sealing cracks, joints, and voids in concrete.

Seal Injection PU-201 is a two-component (2K), CFC-free polyurethane polyol for injection grouting, which rapidly foams up irrespective of water contact in water-filled cracks/voids to quickly seal water flow.

MaxBond Epoxy Coating is a two-component, self-smoothing epoxy resin system designed to deliver durable, seamless, and protective floor finishes for industrial and commercial environments. It provides excellent mechanical strength, chemical resistance, and long-term performance under medium to heavy wear conditions.

ChemShield Polyurea Grouting Fluid is a single-component, high-polymer polyurethane injection grout designed for permanent leak sealing and structural reinforcement. Engineered for demanding environments, it delivers exceptional adhesion, elasticity, and durability, even under continuous water exposure.

Hydrosil+ is a solvent-based waterproof agent using nano compounds. It forms an invisible shield providing long-lasting water repellency and protection against stains without altering the substrate's appearance.
Expert insights, guides, and industry updates on injection grouting and structural repair

Learn to identify critical warning signs that indicate your building requires immediate structural assessment and repair.
Read More
A comprehensive comparison of polyurethane and epoxy injection resins to help you choose the right material for your concrete repair project.
Read More
Master the techniques of injection grouting for effective waterproofing. Learn step-by-step methods, materials selection, and best practices.
Read More